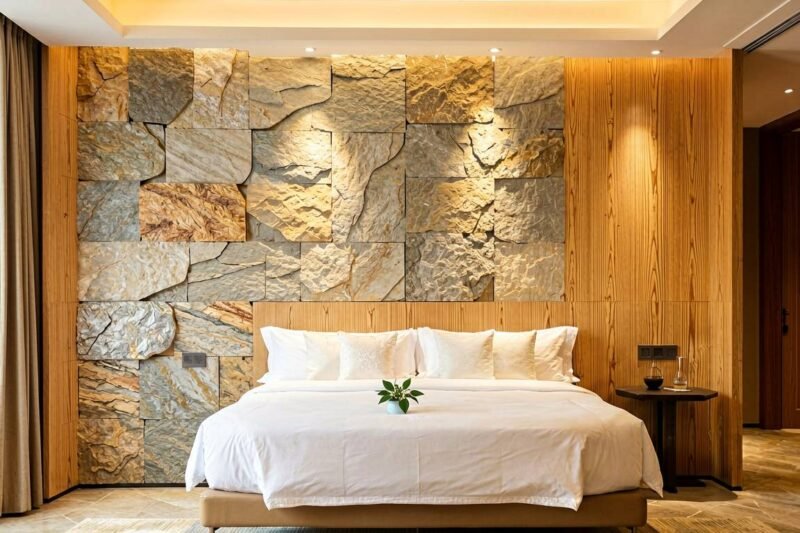
One reason buyers love flexible stone is its ability to wrap curves that defeat rigid tile or stone. This install guide covers curved walls, columns, and arches.
The surface must be clean, dry, and sound. Plaster, drywall, plywood, and existing tile all work. On highly absorbent walls, apply a primer.
Step 2: Dry-Lay and Cut
Unroll sheets and let them relax 24 h. Dry-fit around the curve, mark overlaps, and precut. For tight radii, make relief cuts at the edges.
Step 3: Apply Adhesive
Butter the wall with a notched trowel in a thin, even bed. Work in sections you can set within the open time.
Step 4: Press and Wrap
Press the soft stone onto the curve from the center outward with a roller, pushing out air. The sheet conforms without heating. For columns, spiral slightly overlapping.
Step 5: Seal (Optional)
Indoor feature walls usually need no sealer. Wet areas benefit from a penetrating stone sealer on edges and joints.
Tips for Clean Results
Keep joints narrow and staggered like stonework.
Avoid stretching the sheet—let it relax naturally.